Download the latest release of PDQ Deploy:
https://link.pdq.com/dl-deploy-release
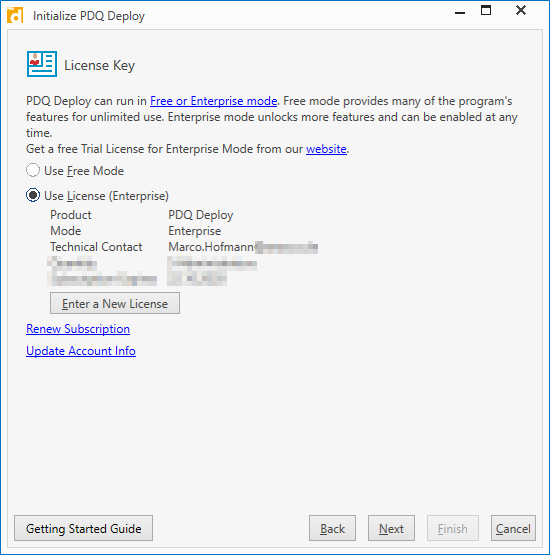
Install the software and import your Enterprise license:
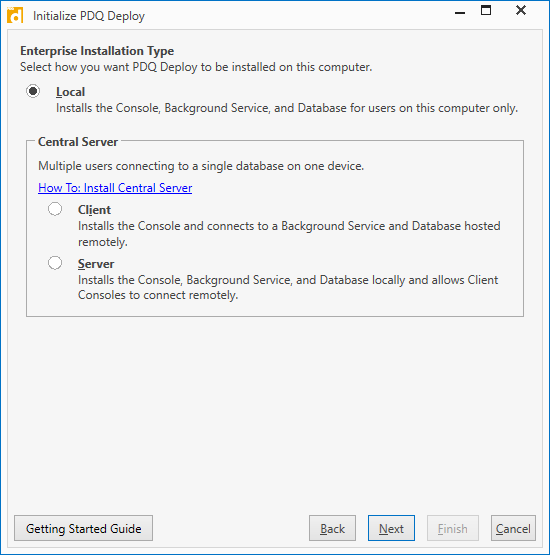
Choose your installation type, I prefer Local for this scenario, as I install PDQ onto the MDT server itself:
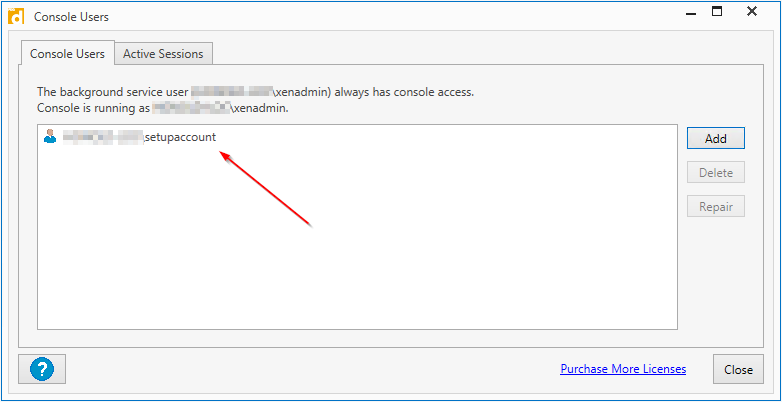
Add a Domain Account to the PDQ Console Users, who has local Administrator privileges on the server where PDQ is installed, so the Task sequence has the privilege to execute the PowerShell remote command to launch the PDQ Deployment task:
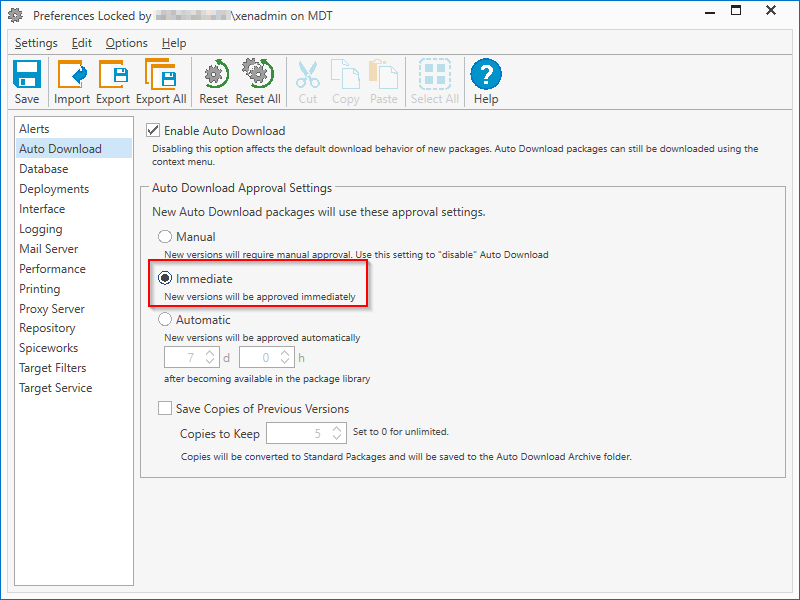
Set some PDQ Preferences:
- I prefer to set Immediate Auto Downloads:
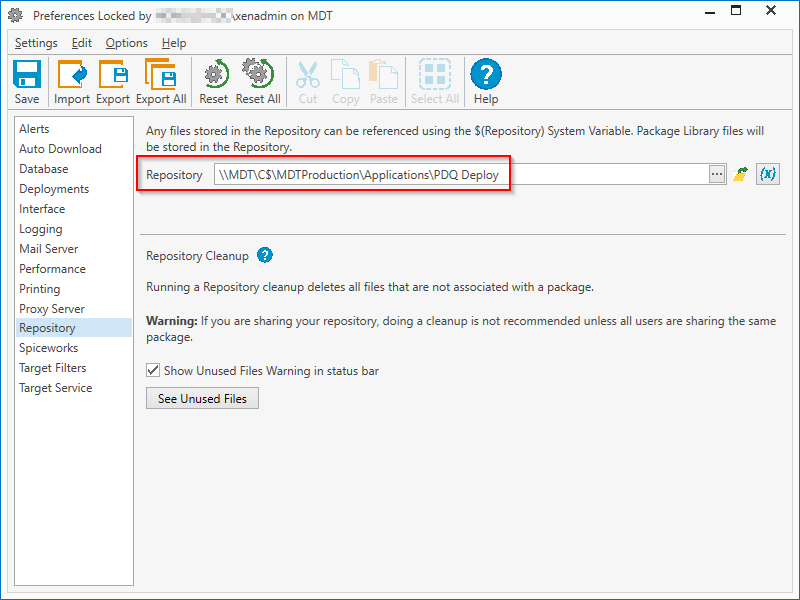
2. Set the Repository path, I prefer it to be inside the Deployment share:
\\MDT\C$\MDTProduction\Applications\PDQ Deploy
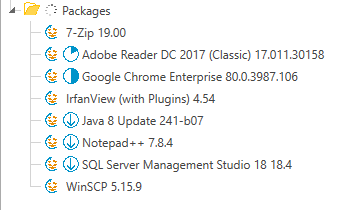
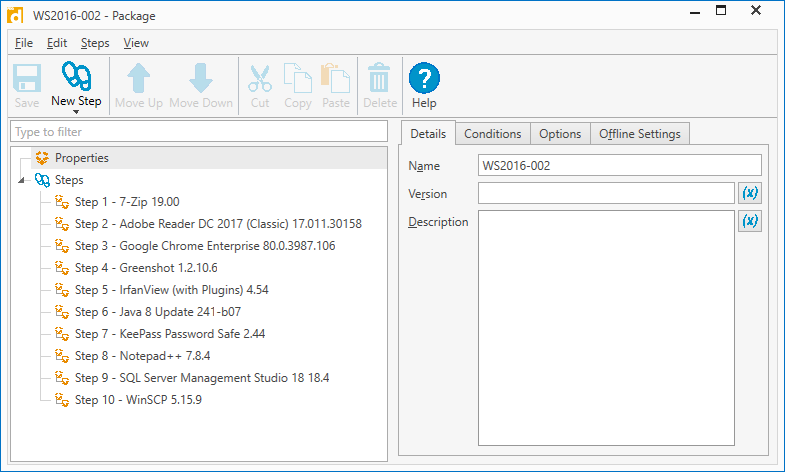
Then import some Evergreen Auto Packages you wish to deploy to your MDT Image, for example:
- 7-Zip
- Adobe Reader DC Classic
- Google Chrome Enterprise
- Filezilla
- IrfanView
- Java runtime
- Notepad++
- SQL Server Management Studio
- WinSCP
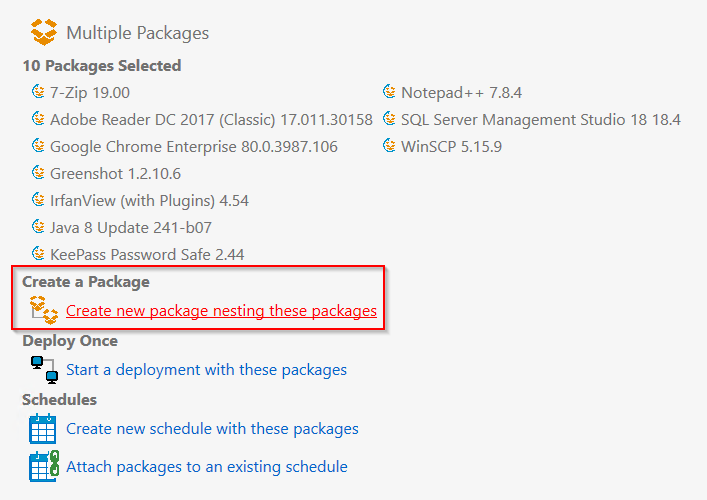
Create a PDQ nested package, so that the package the MDT PowerShell script references never changes:
Add the PowerShell Script that will call PDQ Deploy from the Master Image Task sequence to your MDT Scripts folder:
Write-Verbose "Setting Arguments" -Verbose
$StartDTM = (Get-Date)

$MyConfigFileloc = ("${env:Settings}\Applications\Settings.xml")
[xml]$MyConfigFile = (Get-Content $MyConfigFileLoc)

$SetupUser = $MyConfigFile.Settings.Microsoft.SetupUser
$SetupPassword = $MyConfigFile.Settings.Microsoft.SetupPassword
$SetupPassword = $SetupPassword | ConvertTo-SecureString -asPlainText -Force
$Setup_CredObject = New-Object -TypeName System.Management.Automation.PSCredential -ArgumentList $SetupUser, $SetupPassword

$Vendor = "PDQ"
$Product = "MDT Evergreen Nested Package"
$PackageName = "pdqdeploy"
$Version = "1.0"
$InstallerType = "exe"
$Source = "$PackageName" + "." + "$InstallerType"
$LogPS = "${env:SystemRoot}" + "\Temp\$Vendor $Product $Version PS Wrapper.log"
$LogApp = "${env:SystemRoot}" + "\Temp\$PackageName.log"
$pdqserver = "mdt"
$pdqnestedpackage = "WS2016-002"
$ip = $(Get-NetIPAddress -AddressFamily IPv4 -InterfaceAlias Ethernet0).IPAddress

Start-Transcript $LogPS

Write-Verbose "Starting Installation of $Vendor $Product $Version" -Verbose
Invoke-Command -ComputerName $pdqserver -Credential $Setup_CredObject -ScriptBlock { pdqdeploy.exe Deploy -Package "$pdqnestedpackage" -Targets $args[0] } -Args $ip 2>&1
Start-Sleep 30
Write-Verbose "Wait for PDQ to finish" -Verbose
while (Test-Path "C:\Windows\AdminArsenal\PDQDeployRunner\service-1.lock") { Start-Sleep 30 }

Write-Verbose "Customization" -Verbose

Write-Verbose "Stop logging" -Verbose
$EndDTM = (Get-Date)
Write-Verbose "Elapsed Time: $(($EndDTM-$StartDTM).TotalSeconds) Seconds" -Verbose
Write-Verbose "Elapsed Time: $(($EndDTM-$StartDTM).TotalMinutes) Minutes" -Verbose
Stop-Transcript
Import the script as a MDT application to your Deployment Workbench:
Import-Module "C:\Program Files\Microsoft Deployment Toolkit\bin\MicrosoftDeploymentToolkit.psd1"
New-PSDrive -Name "DS002" -PSProvider MDTProvider -Root "C:\MDTProduction"
Import-MDTApplication -path "DS002:\Applications\Scripts" -enable "True" -Name "PDQ Evergreen Nested Package" -ShortName "Evergreen Nested Package" -Version "" -Publisher "PDQ" -Language "" -CommandLine "powershell.exe -ExecutionPolicy Bypass .\install.ps1 -force" -WorkingDirectory ".\Applications\PDQ Deploy" -NoSource -Verbose
And this is one example what the Settings.xml might look like:
<Settings>
	<Microsoft>
		<SetupUser>DOMAIN\SetupAccount</SetupUser>
		<SetupPassword>SECRET</SetupPassword>
	</Microsoft>
</Settings>
Last step is to add the newly created application to your Master Image Task sequence and let the magic happen.
If you do have any questions or comments about this, please put them below. Thank you.
Disclaimer: This PDQ blog post gave me an important hint for the PowerShell script, without this hint, this wouldn’t work: https://www.pdq.com/blog/mdt-imaging-in-pdq-deploy/
Line 4 of your script references the path to Settings.xml:
$MyConfigFileloc = (“${env:Settings}\Applications\Settings.xml”)
But I can’t seem to figure out where that is in my MDT share. Where should I put the Settings.xml?
${env:Settings}is an environment variable I have configured via Group Policy, that points to the MDT Deployment share.So instead of that, you could also write for example:
\\mdt01.domain.local\MDTProduction$So the full path to that file in my case is:
\\mdt01.domain.local\MDTProduction$\Applications\Settings.xmlContaining the example code from the blog post above.
Hello There,
Great Article. Thank you.
I am quite confused on the below task:
Then import some Evergreen Auto Packages you wish to deploy to your MDT Image, for example:
Can you please guide me on how to import the Evergreen packages?
Hope to hear from you soon on this.
Can you explain the variables in lines 12-21 with a bit more detail? I’m not entirely sure what I should be supplanting in there.