
First of all sorry for the German screenshots, but I thought better German screenshots than no article. The next time I setup a en-US WSUS I will swap the screenshots.
Your best bet IMHO is to switch to Microsoft Windows Server 2016 asap. Server 2008 R2 won’t get Support for Windows 10 Feature Upgrades and Server 2012 R2 got it very delayed through an “interesting” hotfix. Windows Server 2016 seems to be the most reliable choice.
Second lesson I learned is, always install the Microsoft SQL Server Management Studio on the WSUS Server. You will need it sooner than later.
Third lesson is that WSUS will fail sooner or later, if you don’t execute a maintenance script on a regular basis.
What we will do
- Install Microsoft SQL Server Management Studio
- Install Microsoft System CLR Types for SQL Server 2012 (x64) (SQLSysClrTypes.msi)
- Install Report Viewer 2012 Runtime
- Install WSUS via PowerShell and finish the post install
- Go through the WSUS setup wizard (I know this can also be done through PowerShell, but I personally haven’t had time yet)
- Different WSUS mmc settings I usually do
- IIS and WID SQL configuration
- Setup the ultimate WSUS maintenance script
I won’t cover the setups for step 1 & 2 & 3 as they are pretty straight forward.
Step 4 – Add the WSUS role
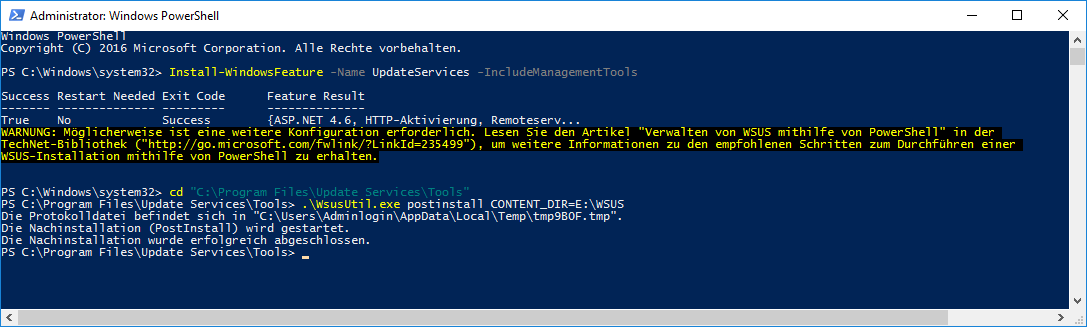
Start an elevated PowerShell and enter the following:
Install-WindowsFeature -Name UpdateServices -IncludeManagementTools
cd "C:\Program Files\Update Services\Tools"
.\WsusUtil.exe postinstall CONTENT_DIR=D:\WSUS
This will add the WSUS Server role with the Windows Internal Database (WID), and launch the post installation task for D:\WSUS (change to your preference).
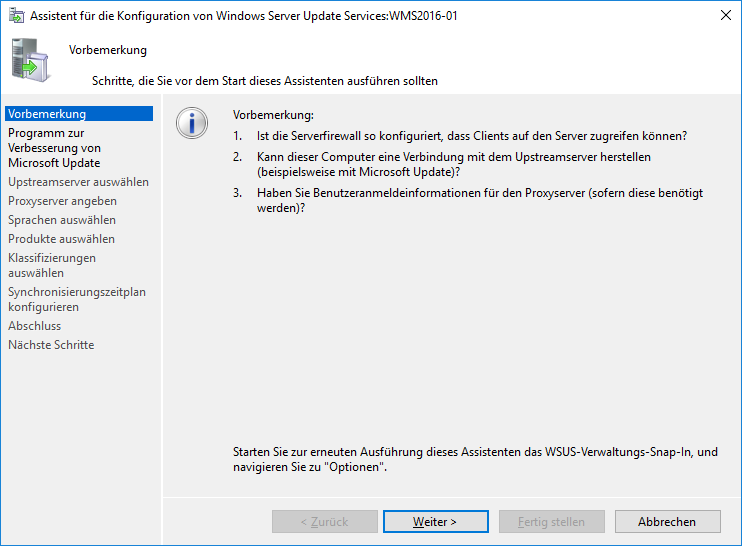
Step 5 – Setup Wizard
After that you may launch the WSUS mmc for the first time.
Decide for yourself if you want submit statistical data to Microsoft.

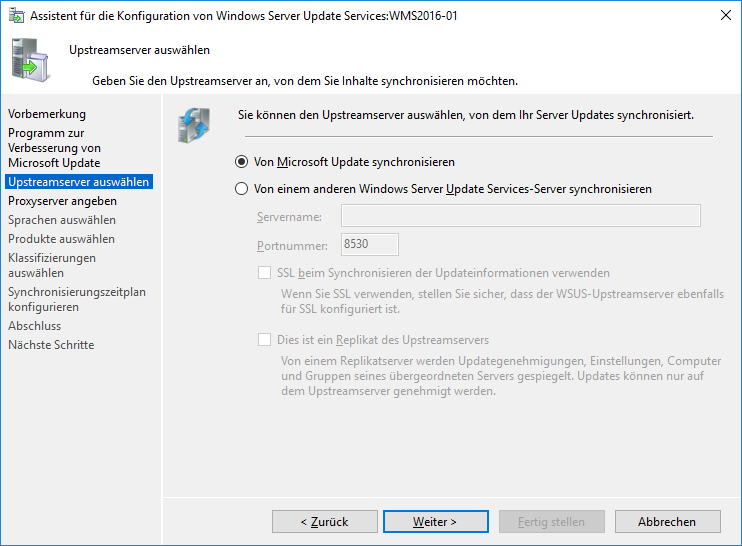
Configure the Downstream Source, this guide assumes a standalone WSUS server.
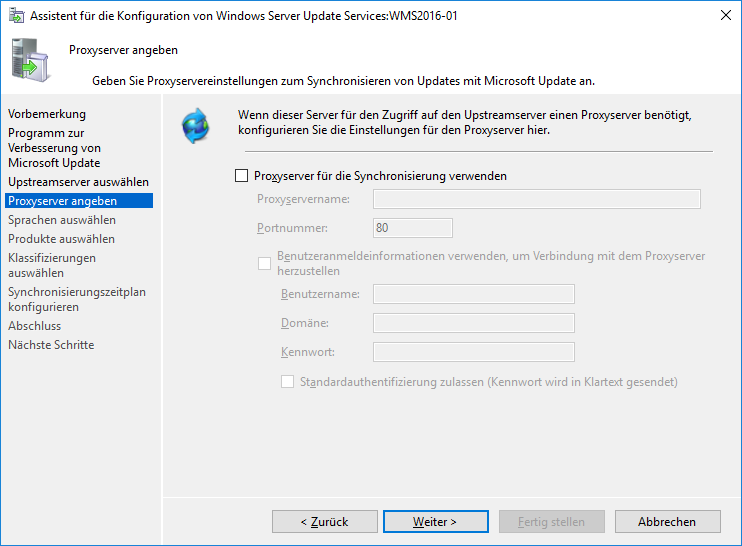
Enter your Proxy configuration if necessary.
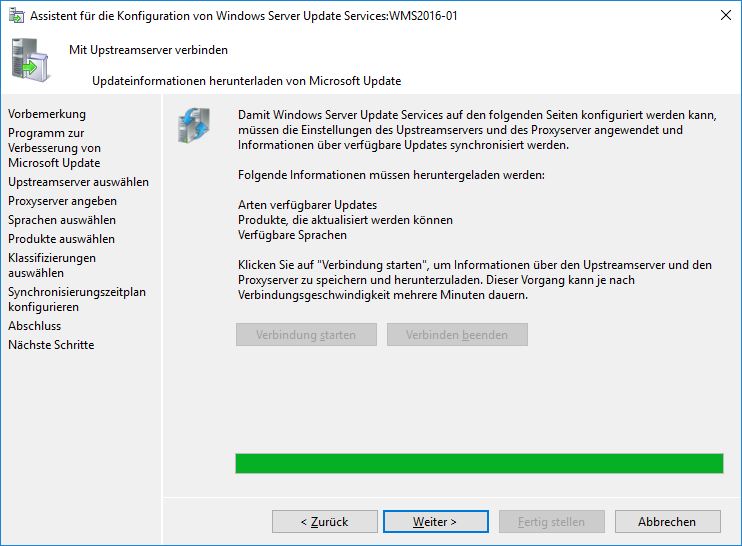
Connect to Microsoft and wait until finished.

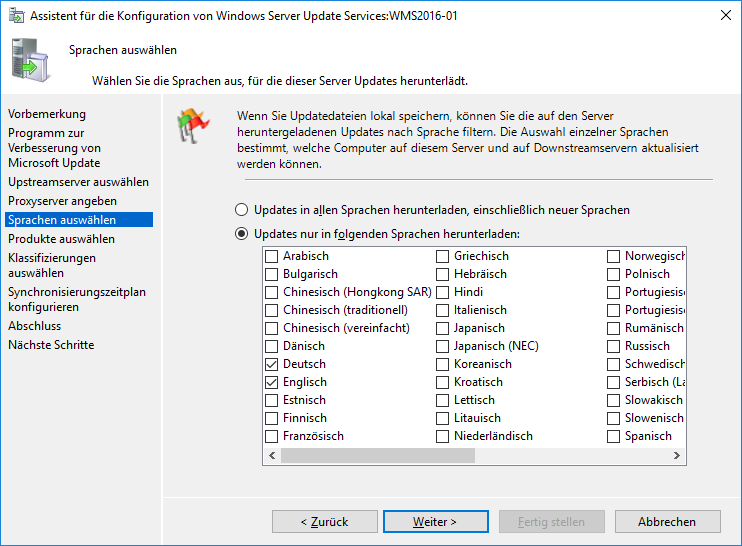
Select your OS / product languages. In my case our environments are a mix of de-DE and en-US.
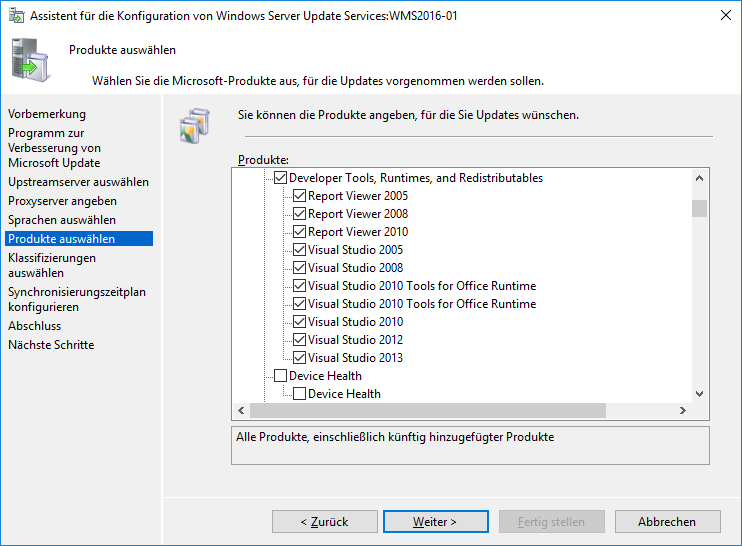
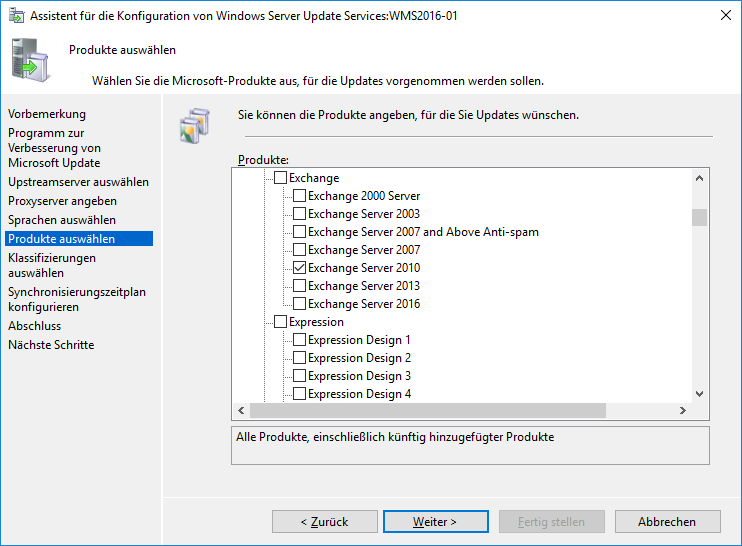
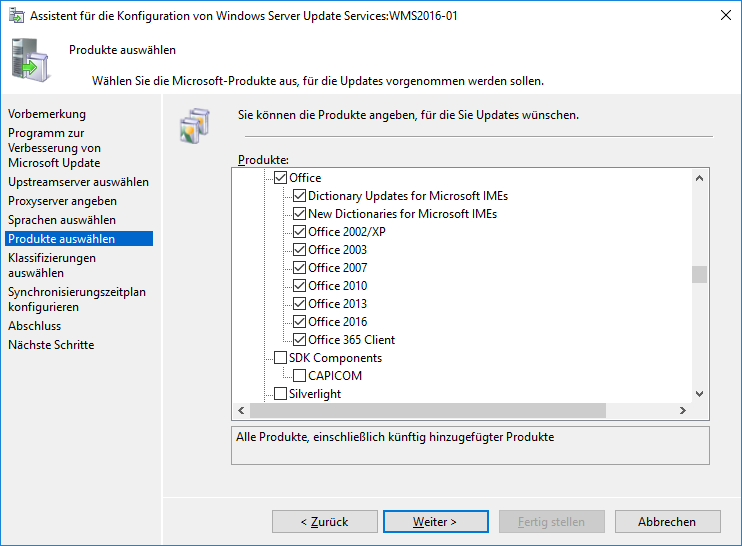
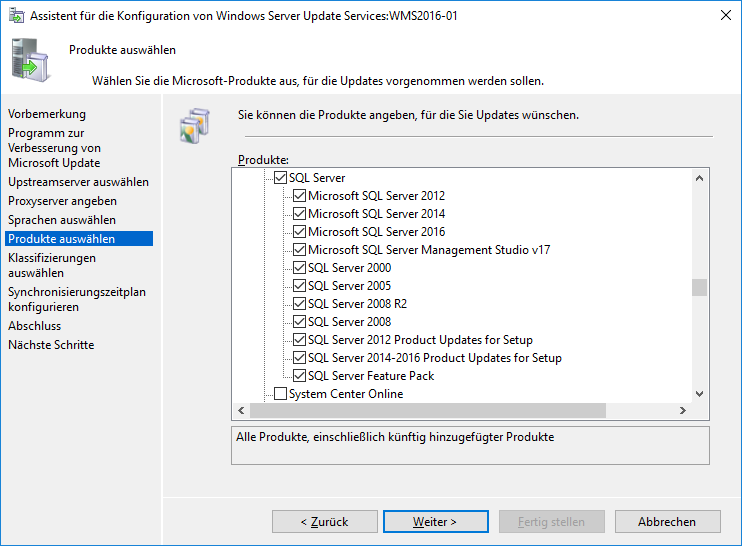
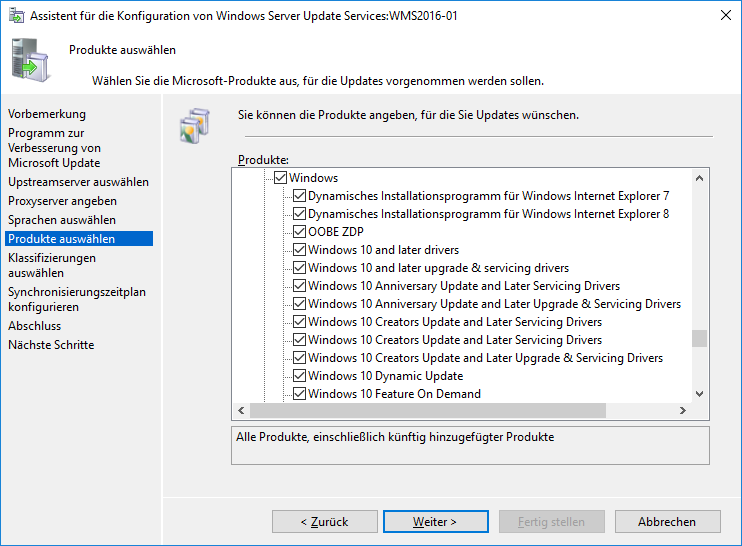
Select the products you wish WSUS to take care of. I personally select the following:
- Developer Tools, Runtimes, and Redistributables
- The Exchange server in-place, if any
- Office
- SQL Server
- Windows
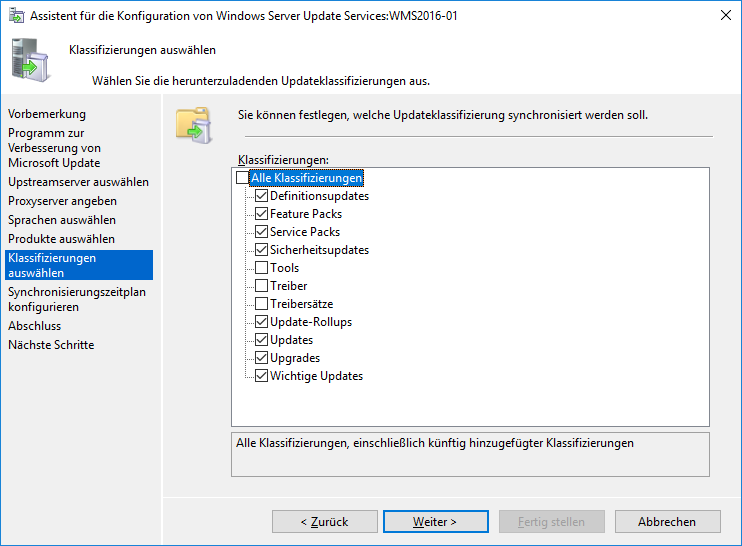
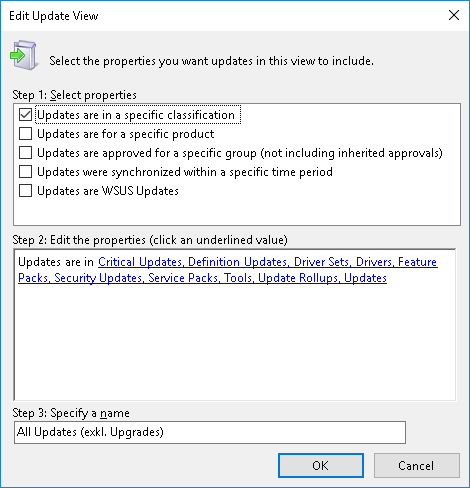
I select the following Classifications:
- Critical Updates
- Definition Updates
- Feature Packs
- Security Updates
- Service Packs
- Update Rollups
- Updates
- Upgrades
Enable automatic synchronization.
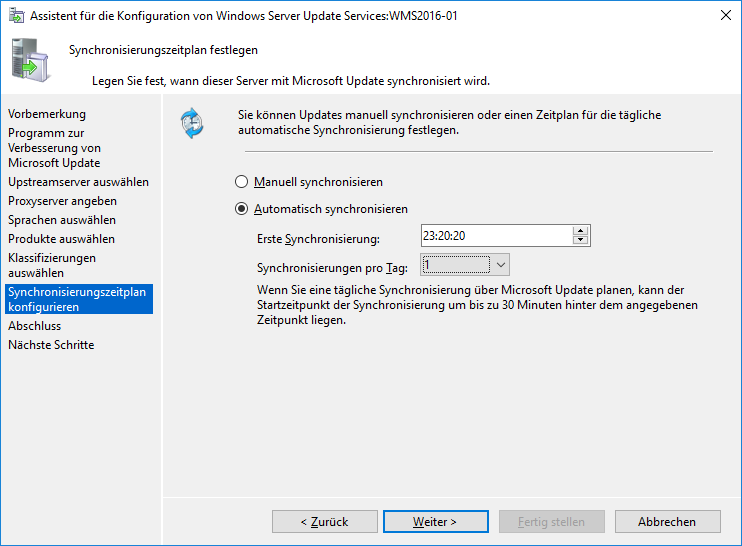
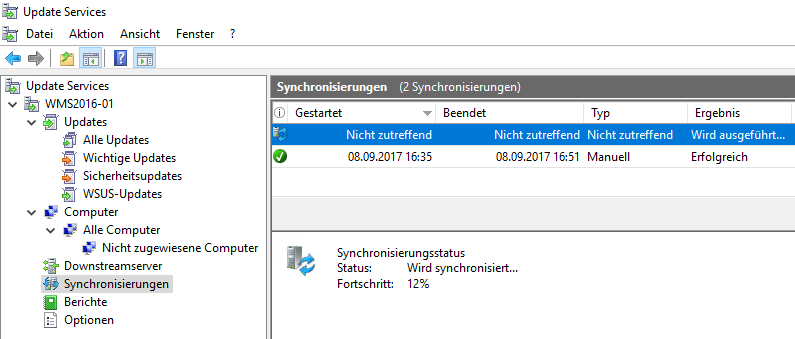
Sync your WSUS with Microsoft.
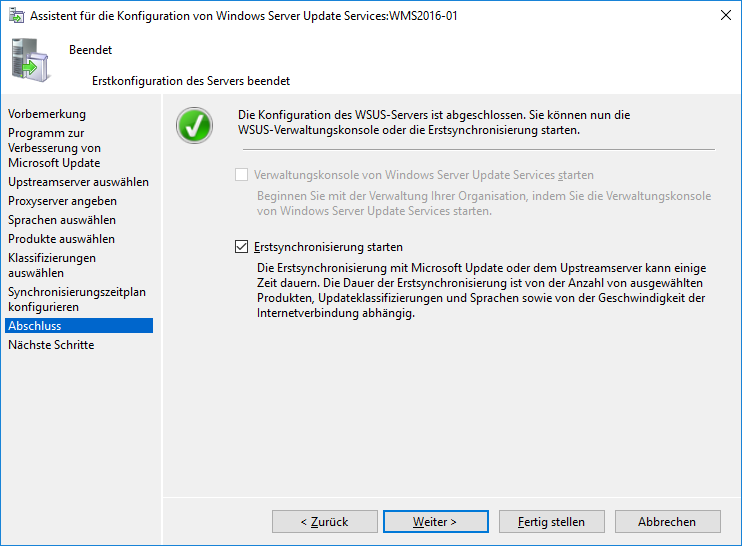
Wait for the Sync to finish.
Step 6 – Configure WSUS
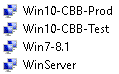
First of all I create the Computer Groups I will need. A typical Setup I like is the following:
- Win10-CBB-Prod <- Currently active Windows 10 Feature Upgrade i.e. 1607
- Win10-CBB-Test <- Future active Windows 10 Feature Upgrade i.e. 1703
- Win7-8.1 <- All Win7 and Win8.1 Clients
- WinServer <- All Windows Server OS
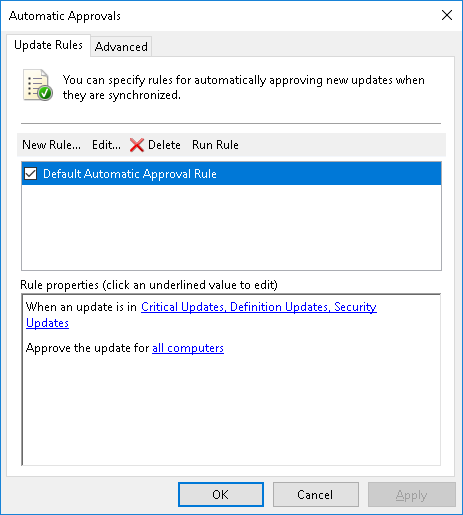
Automatic Approvals, I always activate the default rule and add Definition Updates to the mix:
- Critical Updates
- Definition Updates
- Security Updates
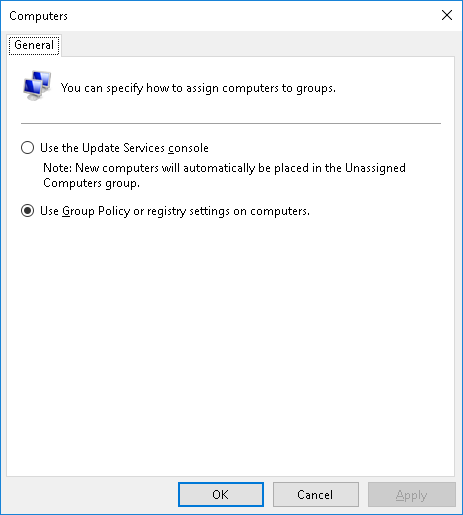
I always manage the assignment of Computer accounts via GPO.
And finally I like to built myself an Update View that shows everything except Windows Feature Upgrades, so that I never Approve a Feature Upgrade by accident.
Step 7
Launch the SQL Server Management Studio we installed earlier.
The server name is:
-
2003/2008:
\\.\pipe\MSSQL$MICROSOFT##SSEE\sql\query -
2012/2016:
\\.\pipe\MICROSOFT##WID\tsql\query
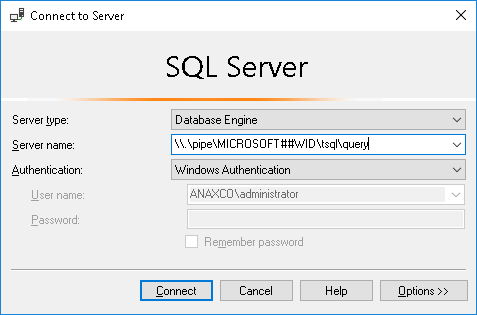
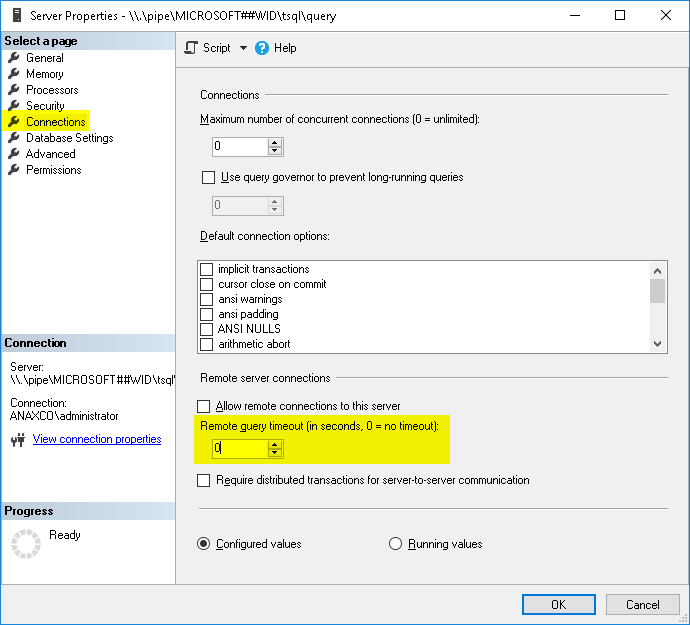
Enter WID properties.
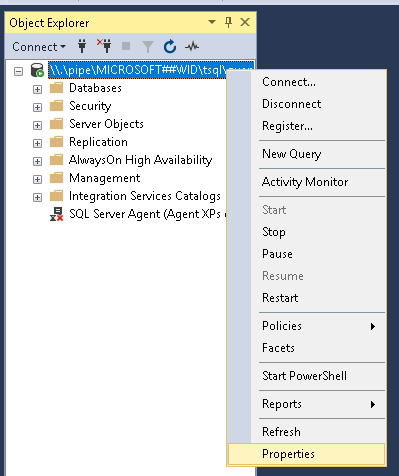
Set Timeout to 0. The WSUS CleanUp Wizard takes a lot of time, even when executed regularly.
Next up open the Internet Information Services (IIS) Manager and open the WsusPool Advanced Settings.
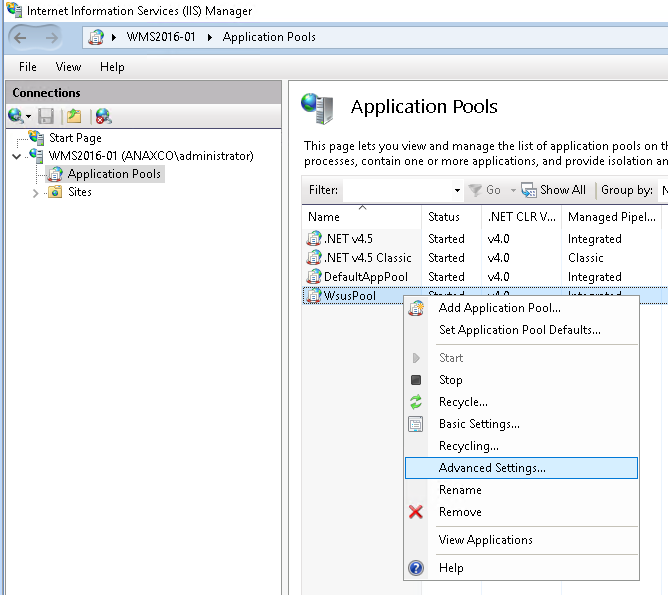
Change the Queue Length to 5000
Change the Private Memory Limit (KB) to 4000000
Both values are no recommendations, but values that worked well for me. You find lots of different suggestions in the Wild Wild Web, but all agree that these values must be higher than the default values.
Step 8
And finally Step 8 where I like to setup:
Adamj Clean-WSUS Script – The last WSUS Script you will ever need!
All credits to Adam Marshall, this script saved me a ton of work and space. It’s setup is quite simple, I’ll quote him and add a few Infos.
- IMHO you should be at least on Server 2012 R2 or better 2016
- SQL Server Management Studio should be installed
- I copy the script to the WSUS folder, i.e. D:\wsus\Clean-WSUS.ps1
- Edit the script and carefully read the Prerequisites and the Instructions
- Skip to the #region Configuration Variables and edit the E-Mail configuration and other settings to your favor. Save.
- Open an elevated PowerShell and cd into the wsus folder
.\Clean-WSUS.ps1 -FirstRun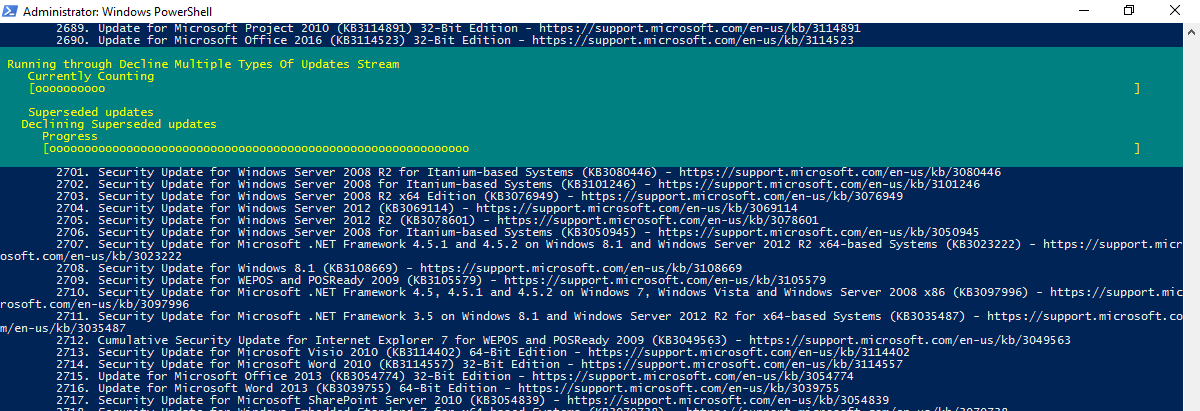
.\Clean-WSUS.ps1 -InstallTask
And you’re done! You WSUS should now be in a state where your only task will be the approval of Windows Updates!
Now you could take a look at my ABC-Update guide to automate the Windows Update Installation on your servers.
One thought on “How I build and maintain WSUS Server”